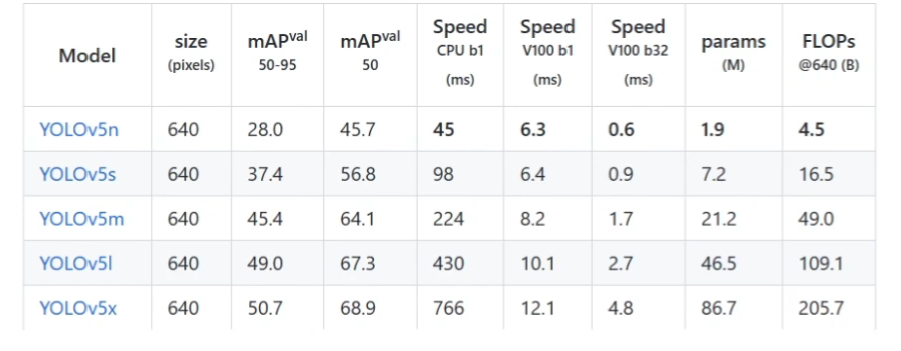
模型检测
关键参数
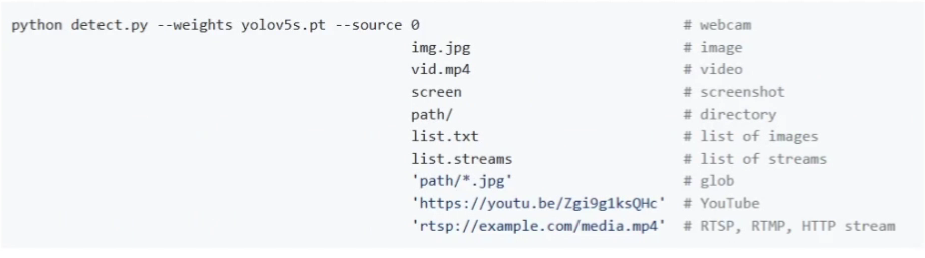
weights:训练好的模型文件

source: 检测的目标,可以是单张图片、文件夹、屏幕或者摄像头等
conf-thres: 置信度闯值,越低框越多,越高框越少
iou-thres: IOU闻值,越低框越少,越少框越多
torch.hub检测方法
安装Jupyter
命令行输入以下代码
1
2
3
| pip install -i https://pypi.tuna.tsinghua.edu.cn/simple jupyterlab
conda install ipykernel
|
激活环境
1
| python -m ipykernel install --name yolov5
|
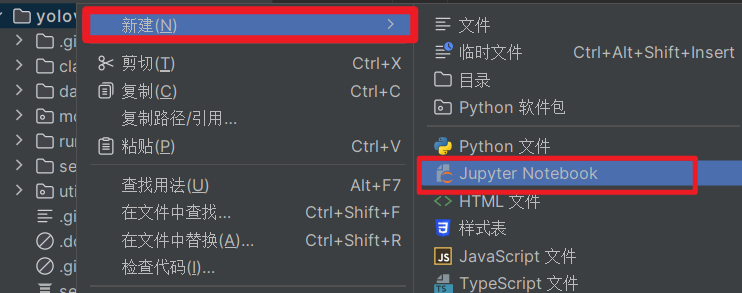
新建Jupyter文件
hub_detect.ipynb
1
2
3
4
5
6
7
8
9
10
11
12
13
| import torch
model = torch.hub.load("./","yolov5s",source= "local")
img = "./data/images/zidane.jpg"
results = model(img)
results.show()
|
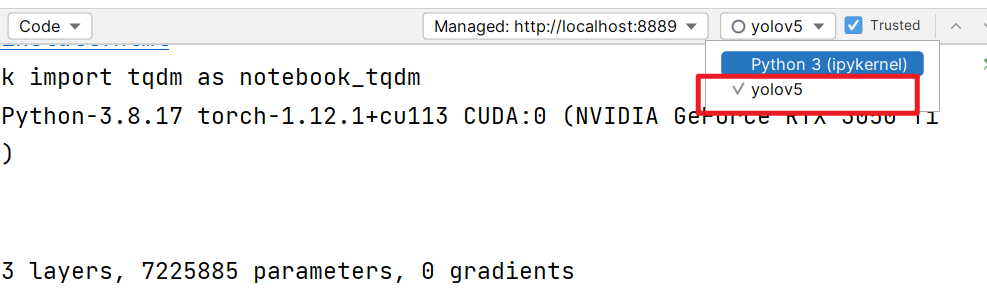
注意运行环境,在下yolov5
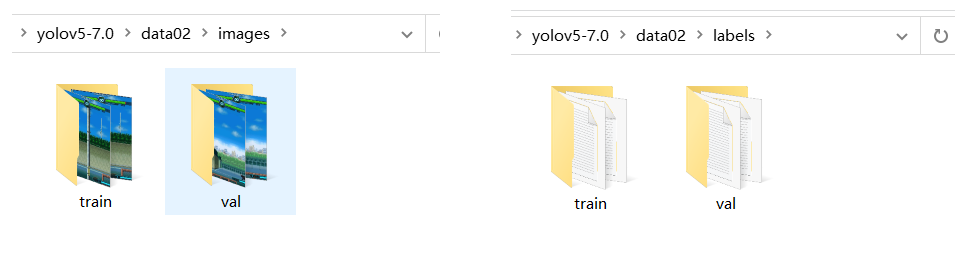
数据集构建
视频放在data02文件夹下
抽取视频帧
1
2
3
4
5
6
7
8
9
10
11
12
13
14
15
16
17
18
19
20
21
22
| import cv2
import matplotlib.pyplot as plt
video = cv2.VideoCapture("./BVN.mp4")
ret, frame = video.read()
plt.imshow(frame)
plt.imshow(cv2.cvtColor(frame, cv2.COLOR_BGR2RGB))
video = cv2.VideoCapture("./BVN.mp4")
num = 0
save_step = 30
while True:
ret, frame = video.read()
if not ret:
break
num += 1
if num % save_step == 0:
cv2.imwrite("./images/" + str(num) + ".jpg", frame)
|
安装标准工具labelimg
1
| pip install -i https://pypi.tuna.tsinghua.edu.cn/simple labelimg
|
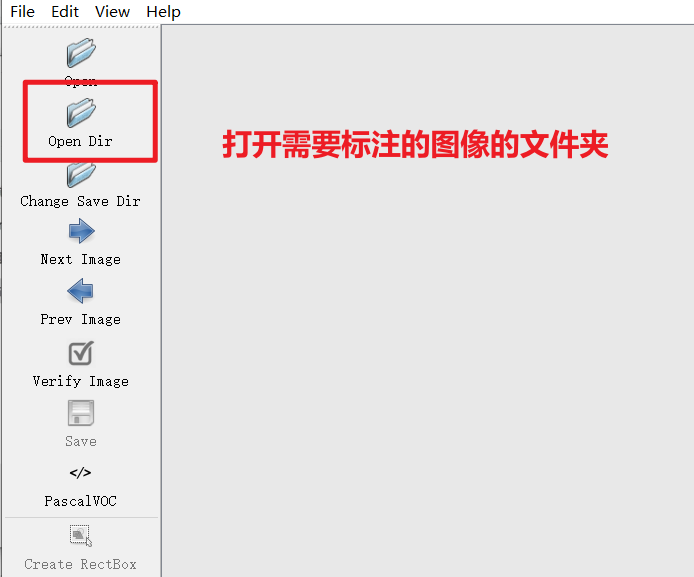
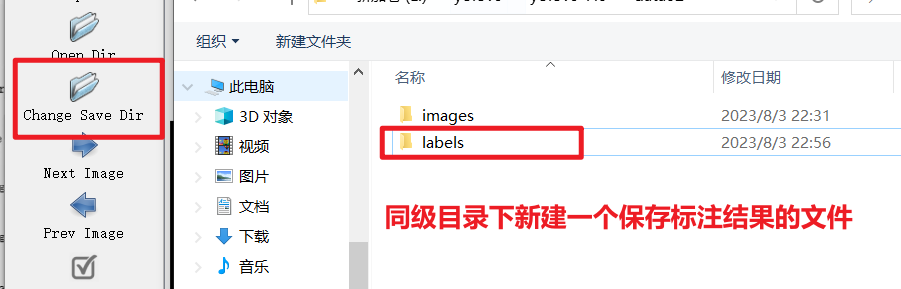
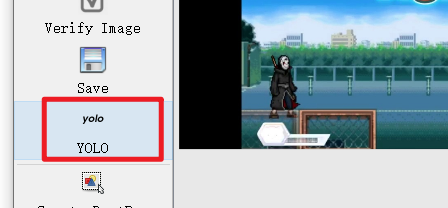
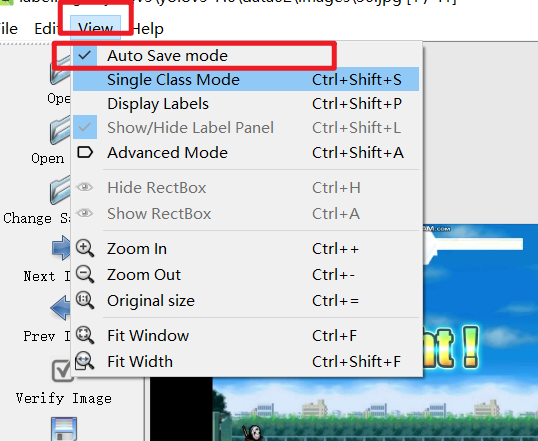
使用labelimg
-
终端输入labelimg
-
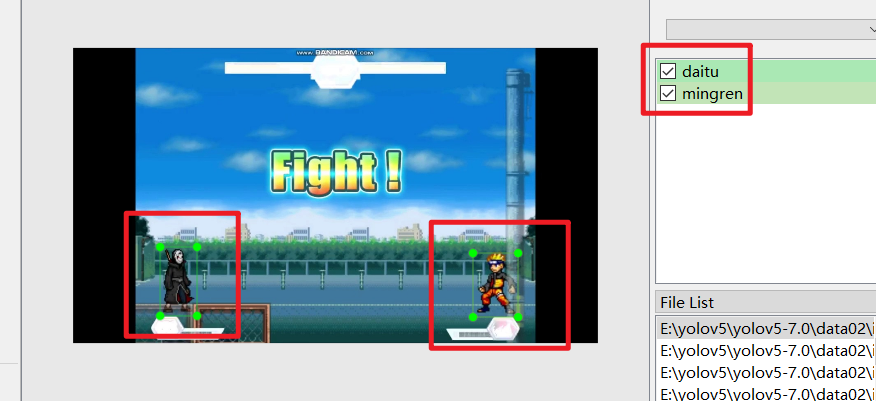
打开需要标注的文件夹images
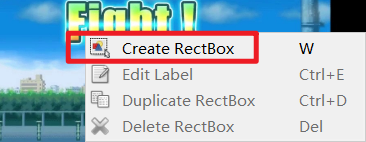
- 开始标注,鼠标右键点击
Create RectBox
模型训练
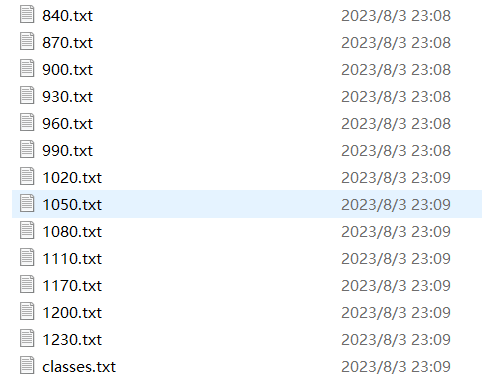
调整文件命名
命名严格一致,不能改
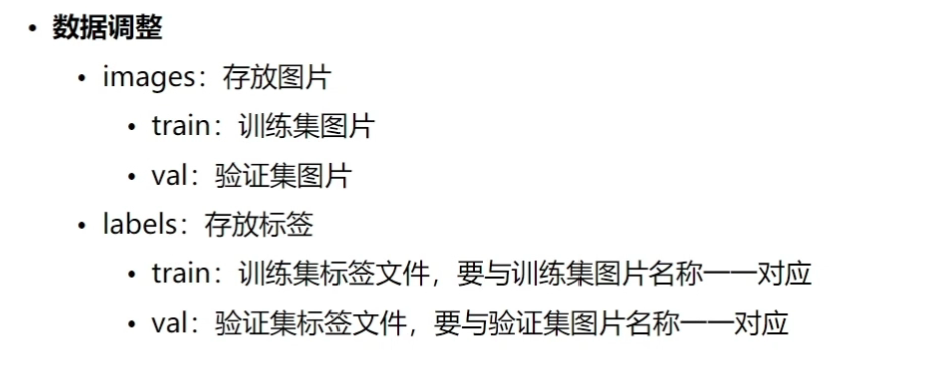
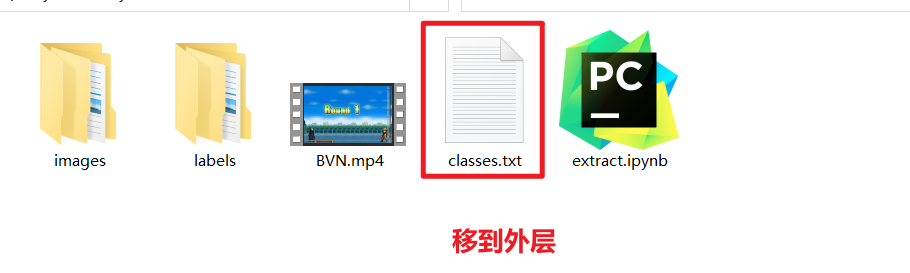
文件调整
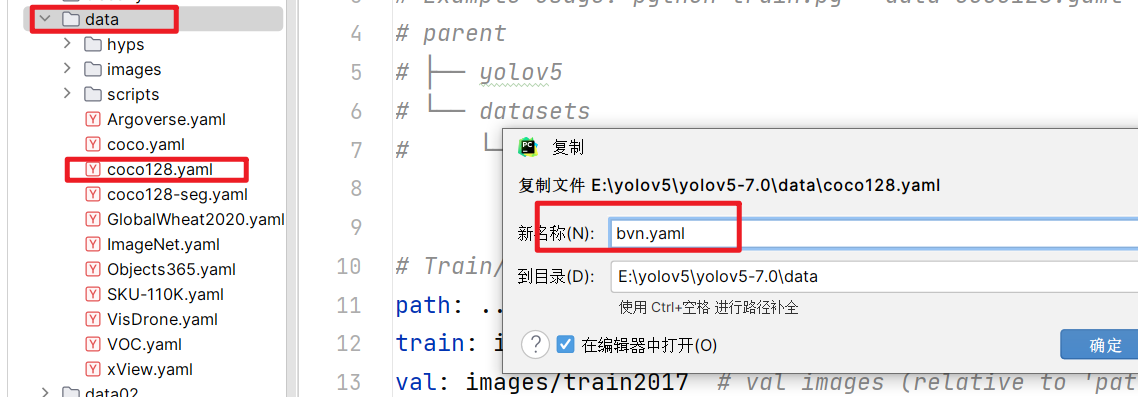
设置yaml文件
- 复制coco128.yaml文件,并命名为bvn.yaml
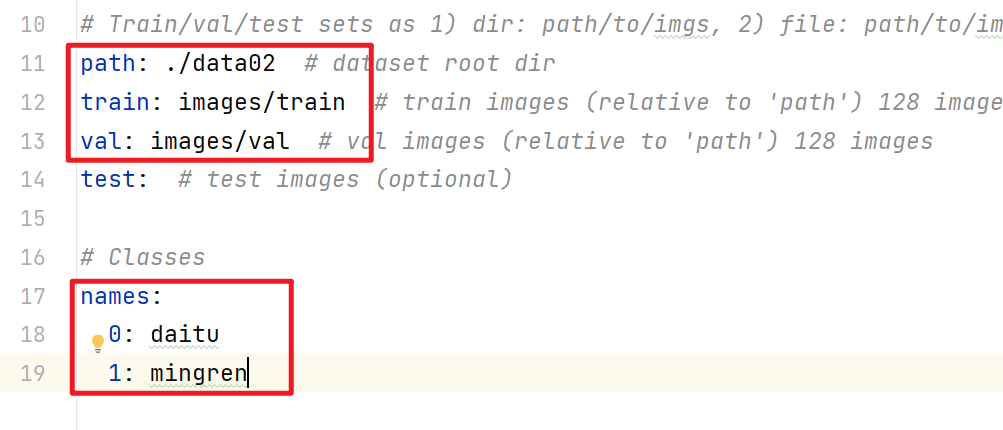
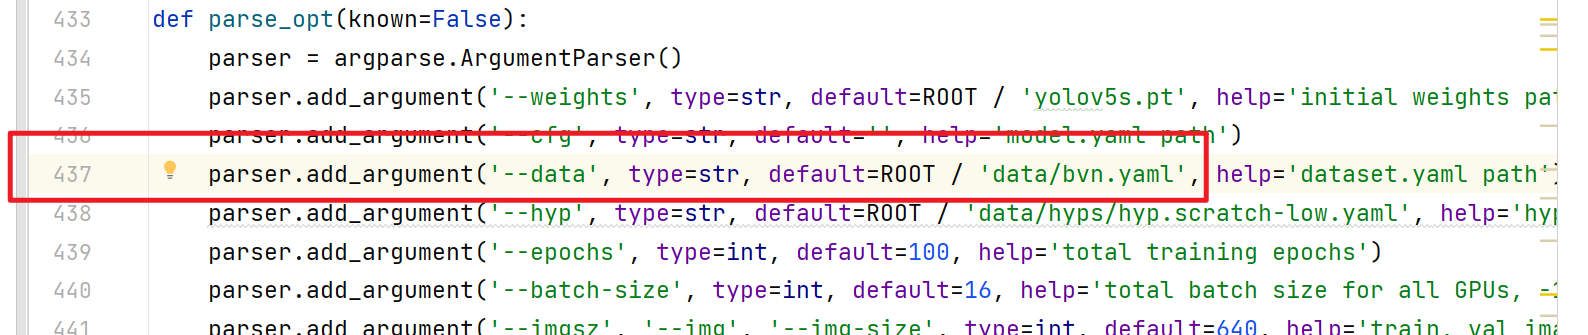
- 修改bvn.yaml
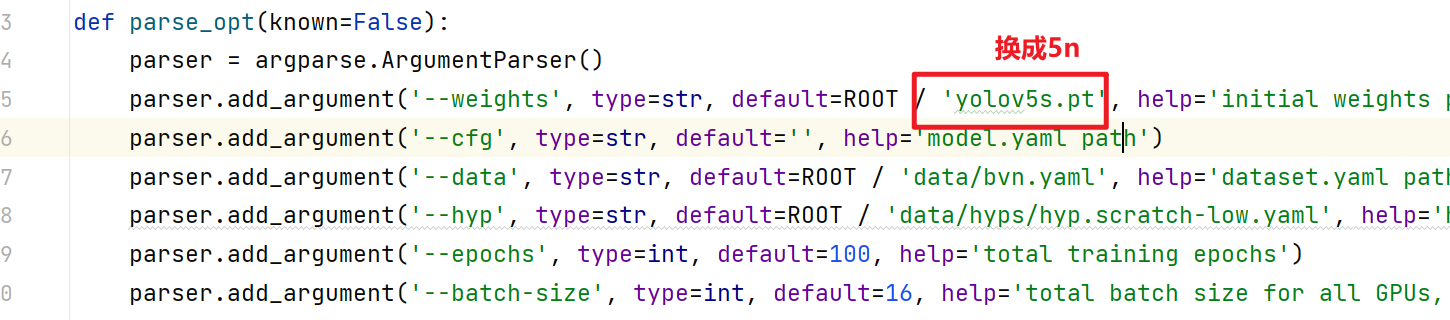
- 修改train.py
文件名改为bvn
workers设置为1
- 运行train.py,训练模型
中间肯能需要下载一写东西,比较慢,慢慢等(可以挂个梯子)
报错,查看下面的报错解决
报错解决
页面文件太小,无法完成操作
训练过程中,发生下图所示的报错,同时pycharm崩溃
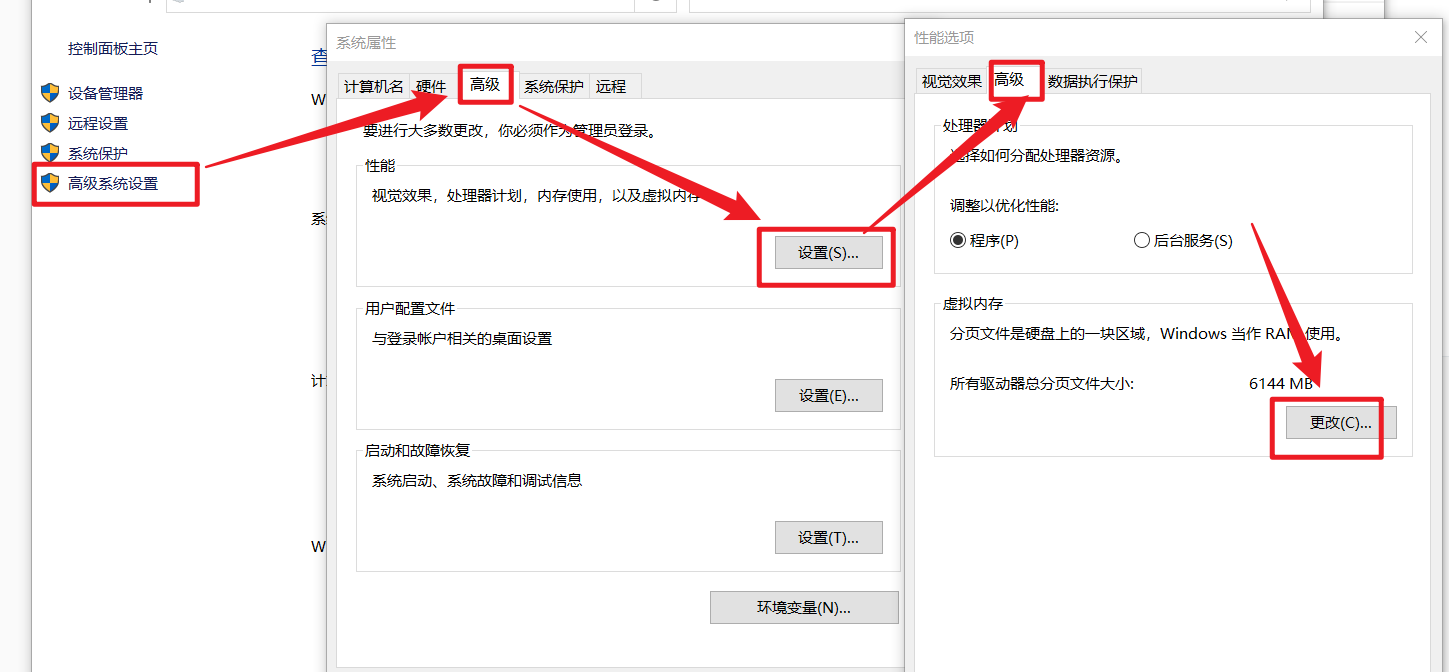
1. 更改虚拟内存
- 进入高级系统设置,应该都会进,就不说过程了
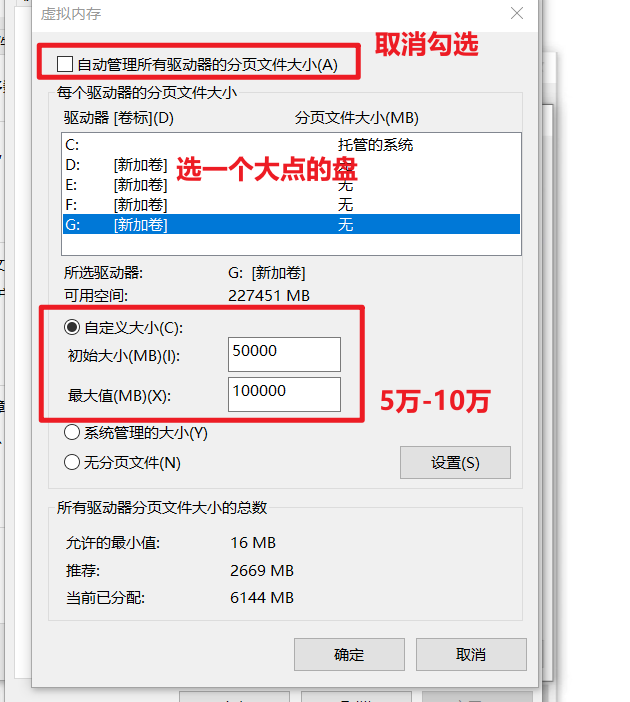
- 设置虚拟内存大小
2. 减小占用内容大小
- 新建一个fixNvPe.py程序
1
2
3
4
5
6
7
8
9
10
11
12
13
14
15
16
17
18
19
20
21
22
23
24
25
26
27
28
29
30
31
32
33
34
35
36
37
38
39
40
41
42
43
44
45
46
47
48
49
50
51
52
53
54
55
56
57
58
59
60
61
62
63
64
65
66
67
68
69
70
71
72
73
74
75
76
77
78
79
80
|
import argparse
import pefile
import glob
import os
import shutil
def main(args):
failures = []
for file in glob.glob( args.input, recursive=args.recursive ):
print(f"\n---\nChecking {file}...")
pe = pefile.PE(file, fast_load=True)
nvbSect = [ section for section in pe.sections if section.Name.decode().startswith(".nv_fatb")]
if len(nvbSect) == 1:
sect = nvbSect[0]
size = sect.Misc_VirtualSize
aslr = pe.OPTIONAL_HEADER.IMAGE_DLLCHARACTERISTICS_DYNAMIC_BASE
writable = 0 != ( sect.Characteristics & pefile.SECTION_CHARACTERISTICS['IMAGE_SCN_MEM_WRITE'] )
print(f"Found NV FatBin! Size: {size/1024/1024:0.2f}MB ASLR: {aslr} Writable: {writable}")
if (writable or aslr) and size > 0:
print("- Modifying DLL")
if args.backup:
bakFile = f"{file}_bak"
print(f"- Backing up [{file}] -> [{bakFile}]")
if os.path.exists( bakFile ):
print( f"- Warning: Backup file already exists ({bakFile}), not modifying file! Delete the 'bak' to allow modification")
failures.append( file )
continue
try:
shutil.copy2( file, bakFile)
except Exception as e:
print( f"- Failed to create backup! [{str(e)}], not modifying file!")
failures.append( file )
continue
pe.OPTIONAL_HEADER.DllCharacteristics &= ~pefile.DLL_CHARACTERISTICS['IMAGE_DLLCHARACTERISTICS_DYNAMIC_BASE']
sect.Characteristics = sect.Characteristics & ~pefile.SECTION_CHARACTERISTICS['IMAGE_SCN_MEM_WRITE']
try:
newFile = f"{file}_mod"
print( f"- Writing modified DLL to [{newFile}]")
pe.write( newFile )
pe.close()
print( f"- Moving modified DLL to [{file}]")
os.remove( file )
shutil.move( newFile, file )
except Exception as e:
print( f"- Failed to write modified DLL! [{str(e)}]")
failures.append( file )
continue
print("\n\nDone!")
if len(failures) > 0:
print("***WARNING**** These files needed modification but failed: ")
for failure in failures:
print( f" - {failure}")
def parseArgs():
parser = argparse.ArgumentParser( description="Disable ASLR and make .nv_fatb sections read-only", formatter_class=argparse.ArgumentDefaultsHelpFormatter )
parser.add_argument('--input', help="Glob to parse", default="*.dll")
parser.add_argument('--backup', help="Backup modified files", default=True, required=False)
parser.add_argument('--recursive', '-r', default=False, action='store_true', help="Recurse into subdirectories")
return parser.parse_args()
if __name__ == "__main__":
args = parseArgs()
main( args )
|
- 安装pefile
1
| pip install -i https://pypi.tuna.tsinghua.edu.cn/simple pefile
|
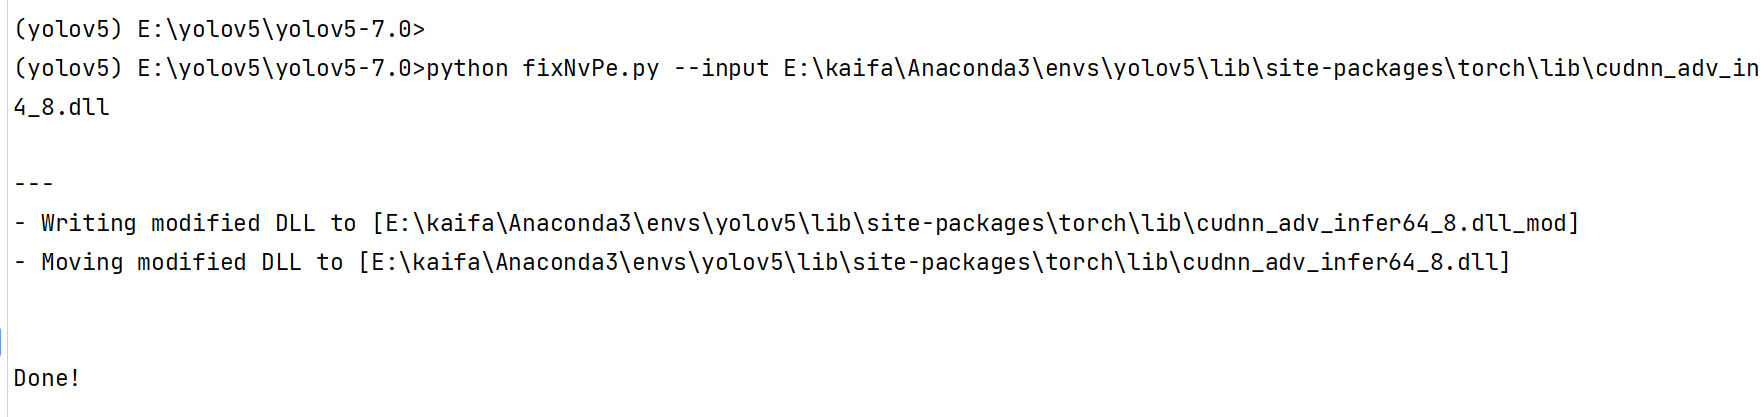
- 终端运行fixNvPe.py文件
1
| python fixNvPe.py --input E:\kaifa\Anaconda3\envs\yolov5\lib\site-packages\torch\lib\cudnn_adv_infer64_8.dll
|
intput后面的路径,就是报错那里,后面给的路径
出现下图所示表示执行完毕
RuntimeError: CUDA out of memory.
解决方式:
换小模型
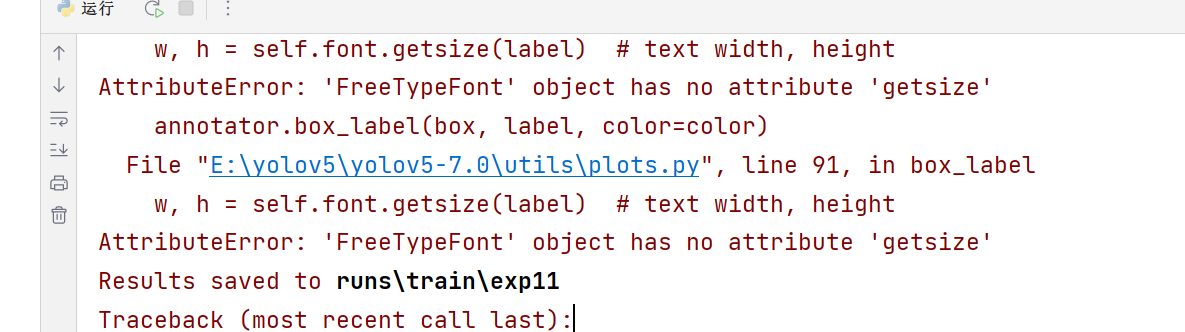
AttributeError: ‘FreeTypeFont’ object has no attribute ‘getsize’
这是因为安装了新版本的 Pillow (10),pip install tf-models-official删除了该getsize 功能,降级到 Pillow 9.5 解决了该问题
解决方式:
1
| pip install -i https://pypi.tuna.tsinghua.edu.cn/simple Pillow==9.5
|
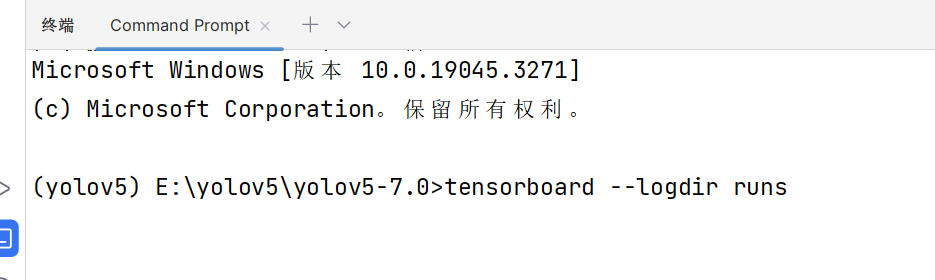
查看日志
终端输入tensorboard --logdir runs
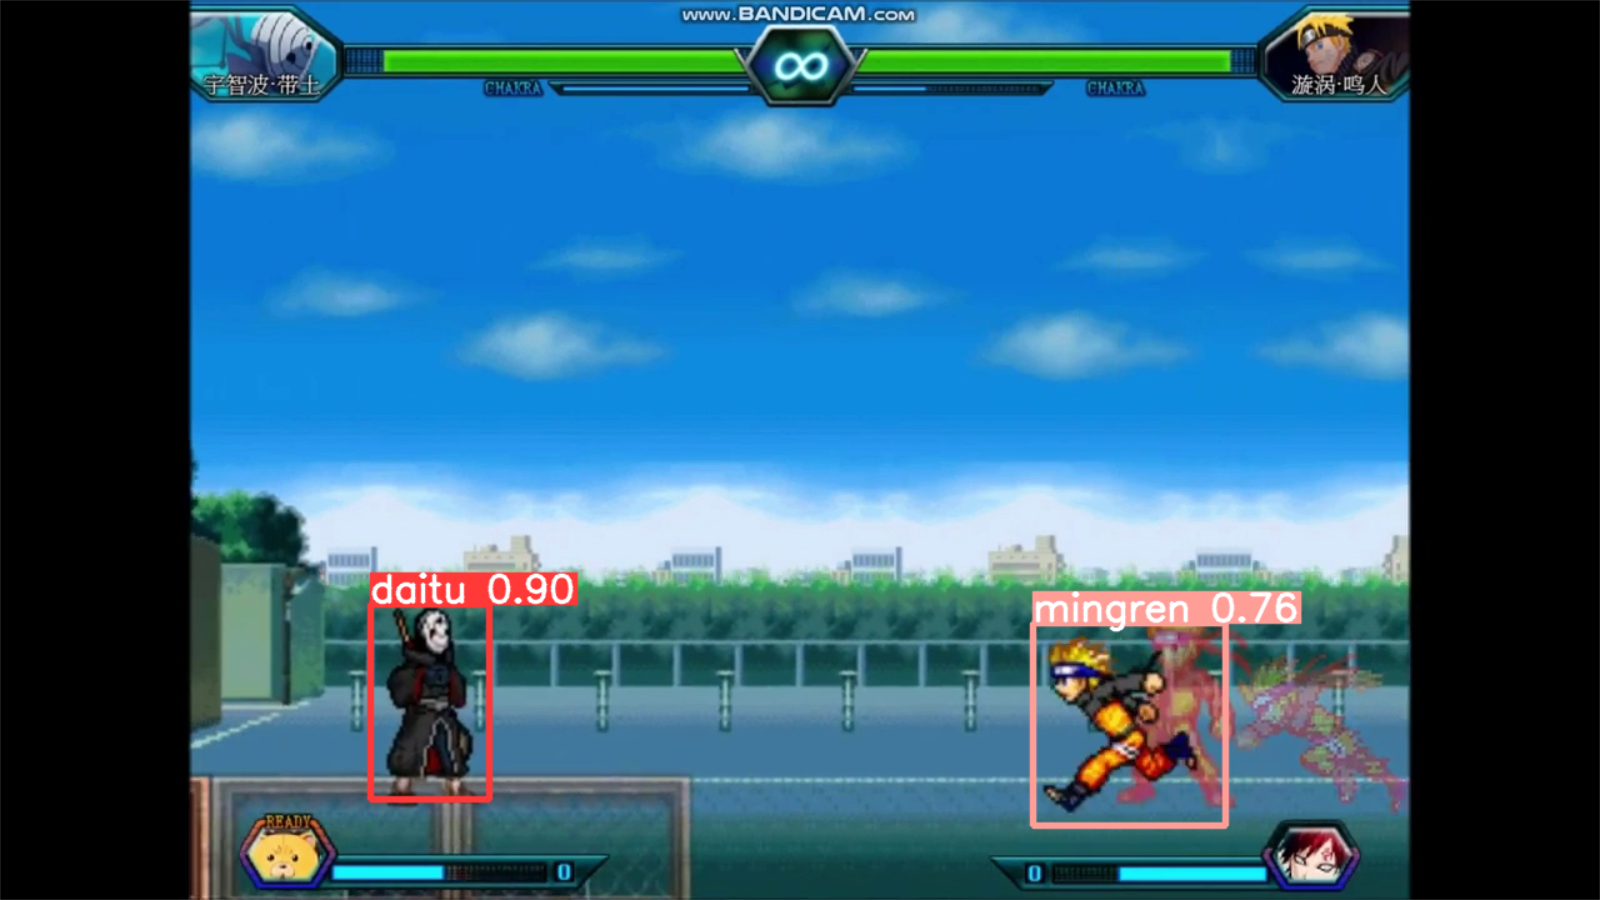
训练效果检测
命令行输入以下命令
1
| python detect.py --weights runs/train/exp/weights/best.pt --source data02/BVN.mp4 --view-img
|